
 My plan was to remove the hatch from the boat, remove the SS screws, take the hatch frame to a polishing/plating shop for restoration (a smooth silver satin finish), and then get a new custom fit plastic window made at American Plastics in Camarillo. Unfortunately nine of the 12 SS screws were frozen solid in the frame which caused the heads to break off when we tried to remove them (we even tried heating them with a torch and tapping them with a hammer... but they were frozen solid!). I took the frame to Del's Machine Shop in Oxnard to get the broken studs removed. Brian did a great job of drilling out the old screws and inserting SS easy coils. He also put a satin finish on the front and rear surface of the hatch frame. I then took the frame to Atlas Plating down the road and asked them to clean and smooth out the frame surface and power coat it in a silver satin finish. Atlas had the frame for a week and completely botched the job!!! They didn't clean or smooth out the surface and applied a clear coat finish over the front and rear surface only... on top of the old corrosion and silicone sealant!!! We obviously had a communication problem.
Julia told me that her boyfriend Derek could help clean up the botched coating job. It turns out that the place I should have used was The Polishing Shop just down the street in Oxnard. They do quality work and understand English. The guy at the Polishing Shop told me that he had just finished a similar sailboat hatch job the prior week.
A couple of weeks later, I picked up the frame from The Polishing Shop. They used a special media blast to clean-up the remaining corrosion, sealant, and clear coat. They then used a Scotch Brite pad to provide a uniform satin finish. An finally, they applied a hot ceramic coating and baked it in the oven. It turned out great and should continue to look nice for many years!


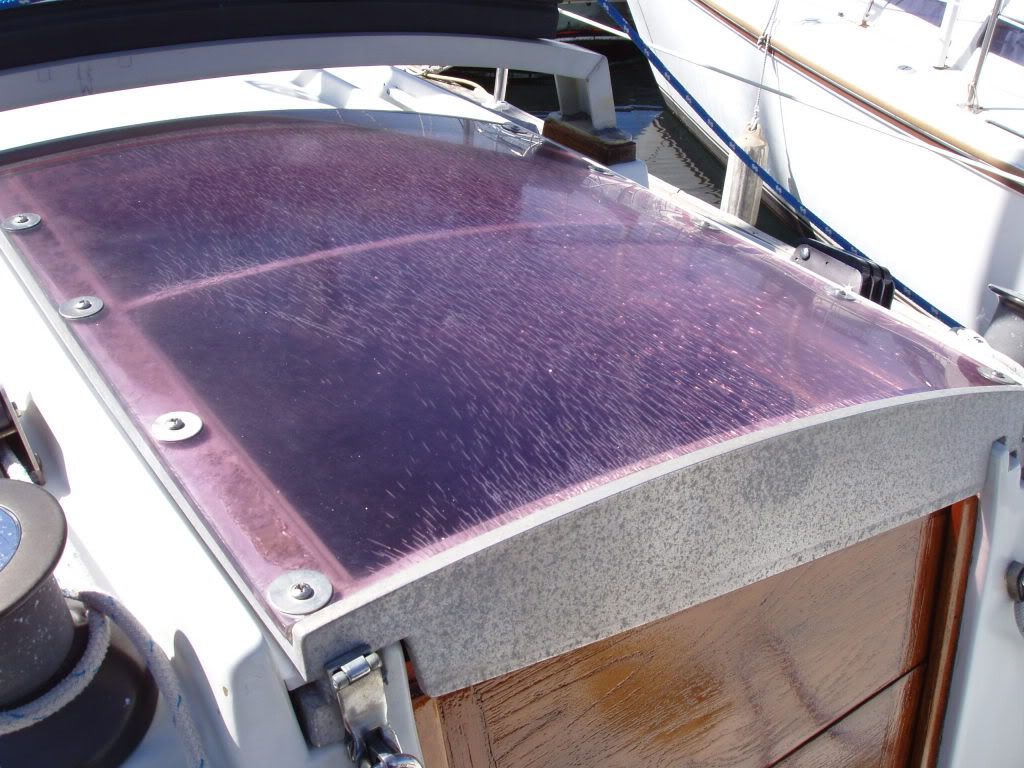
I then took the newly restored frame and original plastic sheet to American Plastics in Camarillo. I was told that the original sheet was 3/8" thick acrylic plastic. Unfortunately, the guy at the shop said that they couldn't do the job!!! He said that the thick acrylic plastic would crack if we tried to make it fit the arc of the hatch. He said that I'd have to have the plastic drape formed in an oven and recommended I try California Quality Plastics in Ontario. A few days later I got a quote from Cal Quality Plastics. They wanted $629 to make a drape formed piece. They said that they couldn't use my frame and they'd have to create a special tool to form the sheet. Since I already has overspent my budget for this project, I told them no thanks. I went back to American Plastics and asked about other options. The guy reiterated that a 3/8" piece of acrylic would crack. I asked about using a thinner, more flexible sheet. He suggested that I use polycarbonate if I wanted a thinner, more flexible piece. The polycarbonate is stronger, but will not hold up as well in the sunlight. I figured that polycarbonate would be OK since the plastic is covered when the boat is not in use.
We then noticed that the frame and original plastic sheet were not square. American Plastics could only make straight cuts so we used the shortest dimensions. They cut a piece of 1/4" thick gray tinted Makrolon polycarbonate. I bought a couple of special plastic drill bits and brought the new sheet home to do the final prep. I drilled the holes using the old sheet as a template. The holes all lined up great. I spent several hours with a sanding block trying to make the new sheet's edges line up with the frame.
I had to purchase new sets of bolts since the previous bolts I purchased did not fit with the thinner plastic. I then brought everything down to the boat and spent about five hours putting it back together. I used stainless steel anti-seize on all of the threads to prevent galling or galvanic corrosion. I also applied a thin bead of clear silicone sealant on the frame to seal and provide some cushioning between the aluminum frame and plastic sheet. I used neoprene washers between the plastic and the fender washers to absorb some of the stress from the bolts. While I was at it, I installed a grab handle and a new SS lock hasp.
Although this project was far more complicated, time consuming, and expensive than I anticipate, I think it turned out nicely and like how it dresses up the cockpit. Click the pics below for a closeup. What a difference!


No comments:
Post a Comment